
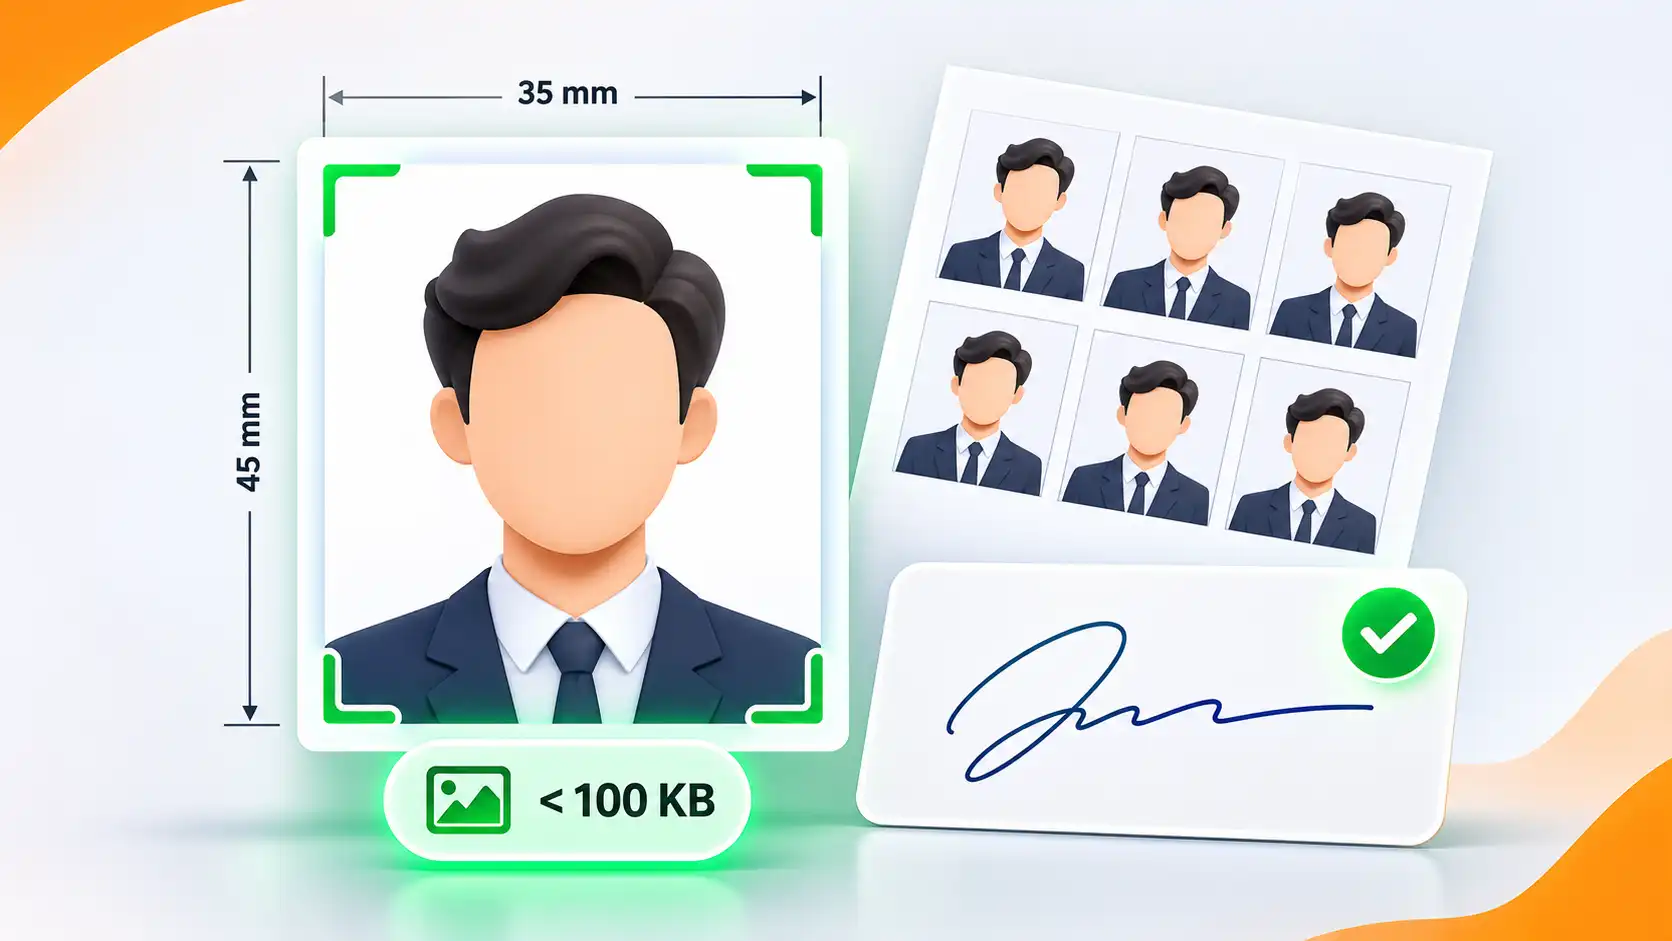
You have filled in the whole application form — and then the website says “Photo size must be 20–50 KB, 200 × 230 pixels” or “Signature must be less than 30 KB”. If you have ever fought with random online tools to fix this, this guide is for you. Here is how photo and signature requirements work, and how to prepare both quickly and offline with 91Toolkit.
Why application forms reject photos and signatures
Most rejections come down to one of these:
- Wrong dimensions — width and height in pixels, millimetres or centimetres.
- File too large — or too small — many forms set a maximum and a minimum size in KB.
- Wrong format — often only JPG/JPEG is accepted.
- Poor content — dark background, face not centred, blurry signature or uneven lighting.
Requirements change between exams and between years, so treat any number you read in a blog post as an example and always follow the official notification.
Understanding pixels, mm and DPI
Online forms usually ask in pixels, while printed photos are measured in millimetres or inches. DPI (dots per inch) links the two:
pixels = size in inches × DPI, and one inch is 25.4 mm.
| Photo size | At 300 DPI |
|---|---|
| 35 × 45 mm (passport / visa) | about 413 × 531 px |
| 20 × 25 mm (stamp size) | about 236 × 295 px |
| 2 × 2 inch (51 × 51 mm) | 600 × 600 px |
91Toolkit does this maths for you: you type the exact size in pixels, mm, cm or inches, and the DPI.
How to prepare a photo for a form with 91Toolkit
- Open 91Toolkit and go to the Photo & Signature for Forms tab.
- Add your photo, then crop, zoom and rotate until your face is centred with a clear margin.
- Enter the required width, height and unit (and DPI if the form needs it).
- Set the maximum KB — and the minimum KB if the form has one.
- Save. The tool finds the best quality that fits your limits and exports a ready JPG.
Built-in presets cover 35×45 mm, 20×25 mm and 2×2 inch photos. For each exam, enter the numbers once and save your own preset to reuse next year.
How to prepare a signature
- Sign with a dark pen on plain white paper and take a clear, well-lit photo or scan.
- Add it to 91Toolkit. Use the auto-find signature option to locate it on the page, then crop tightly.
- Use the signature clean-up to whiten the paper and darken the ink.
- Enter the required size and KB limits and save.
Photo tips that avoid rejection
- Use a plain white or light background and even lighting — no shadows on the face.
- Keep your face centred, looking straight at the camera, with the whole head visible.
- Do not over-edit or add filters.
- Start from the largest, sharpest original photo you have — shrinking is easy, enlarging is not.
- If a form needs a date or name strip on the photo, check the notification before adding one.
Print passport photos at home or at a shop
When you need printed copies, 91Toolkit lays out several photos on one sheet — 4×6, 5×7, A4 or A6 — and exports a PDF or JPG you can print or hand to a print shop. No more paying for each strip.
Convert and compress any image
The same app converts images between JPG, PNG, WEBP, AVIF, TIFF, GIF, BMP and ICO and can compress an image to a target file size — handy for uploads of any kind.
Works offline, files stay on your PC
Passport photos and signatures are personal. 91Toolkit runs entirely on your Windows computer, so nothing is uploaded to a website. See all 91Toolkit features or ask us for a 3-day trial key.